In web development, every visible element — a button, image, or text block — lives inside a vast, nested structure of code called the DOM (Document Object Model). To “anchor” a LayerZ experience, such as a floating message, an embedded chat, or a smart popup, you first need to tell LayerZ where to appear.
That’s what selectors are for.
A selector is like a GPS coordinate inside your website. It uniquely identifies an element so that LayerZ knows exactly where to attach the layer — for example, over a product image, next to an “Add to Cart” button, or below a pricing banner.
How to Find the Right Selector
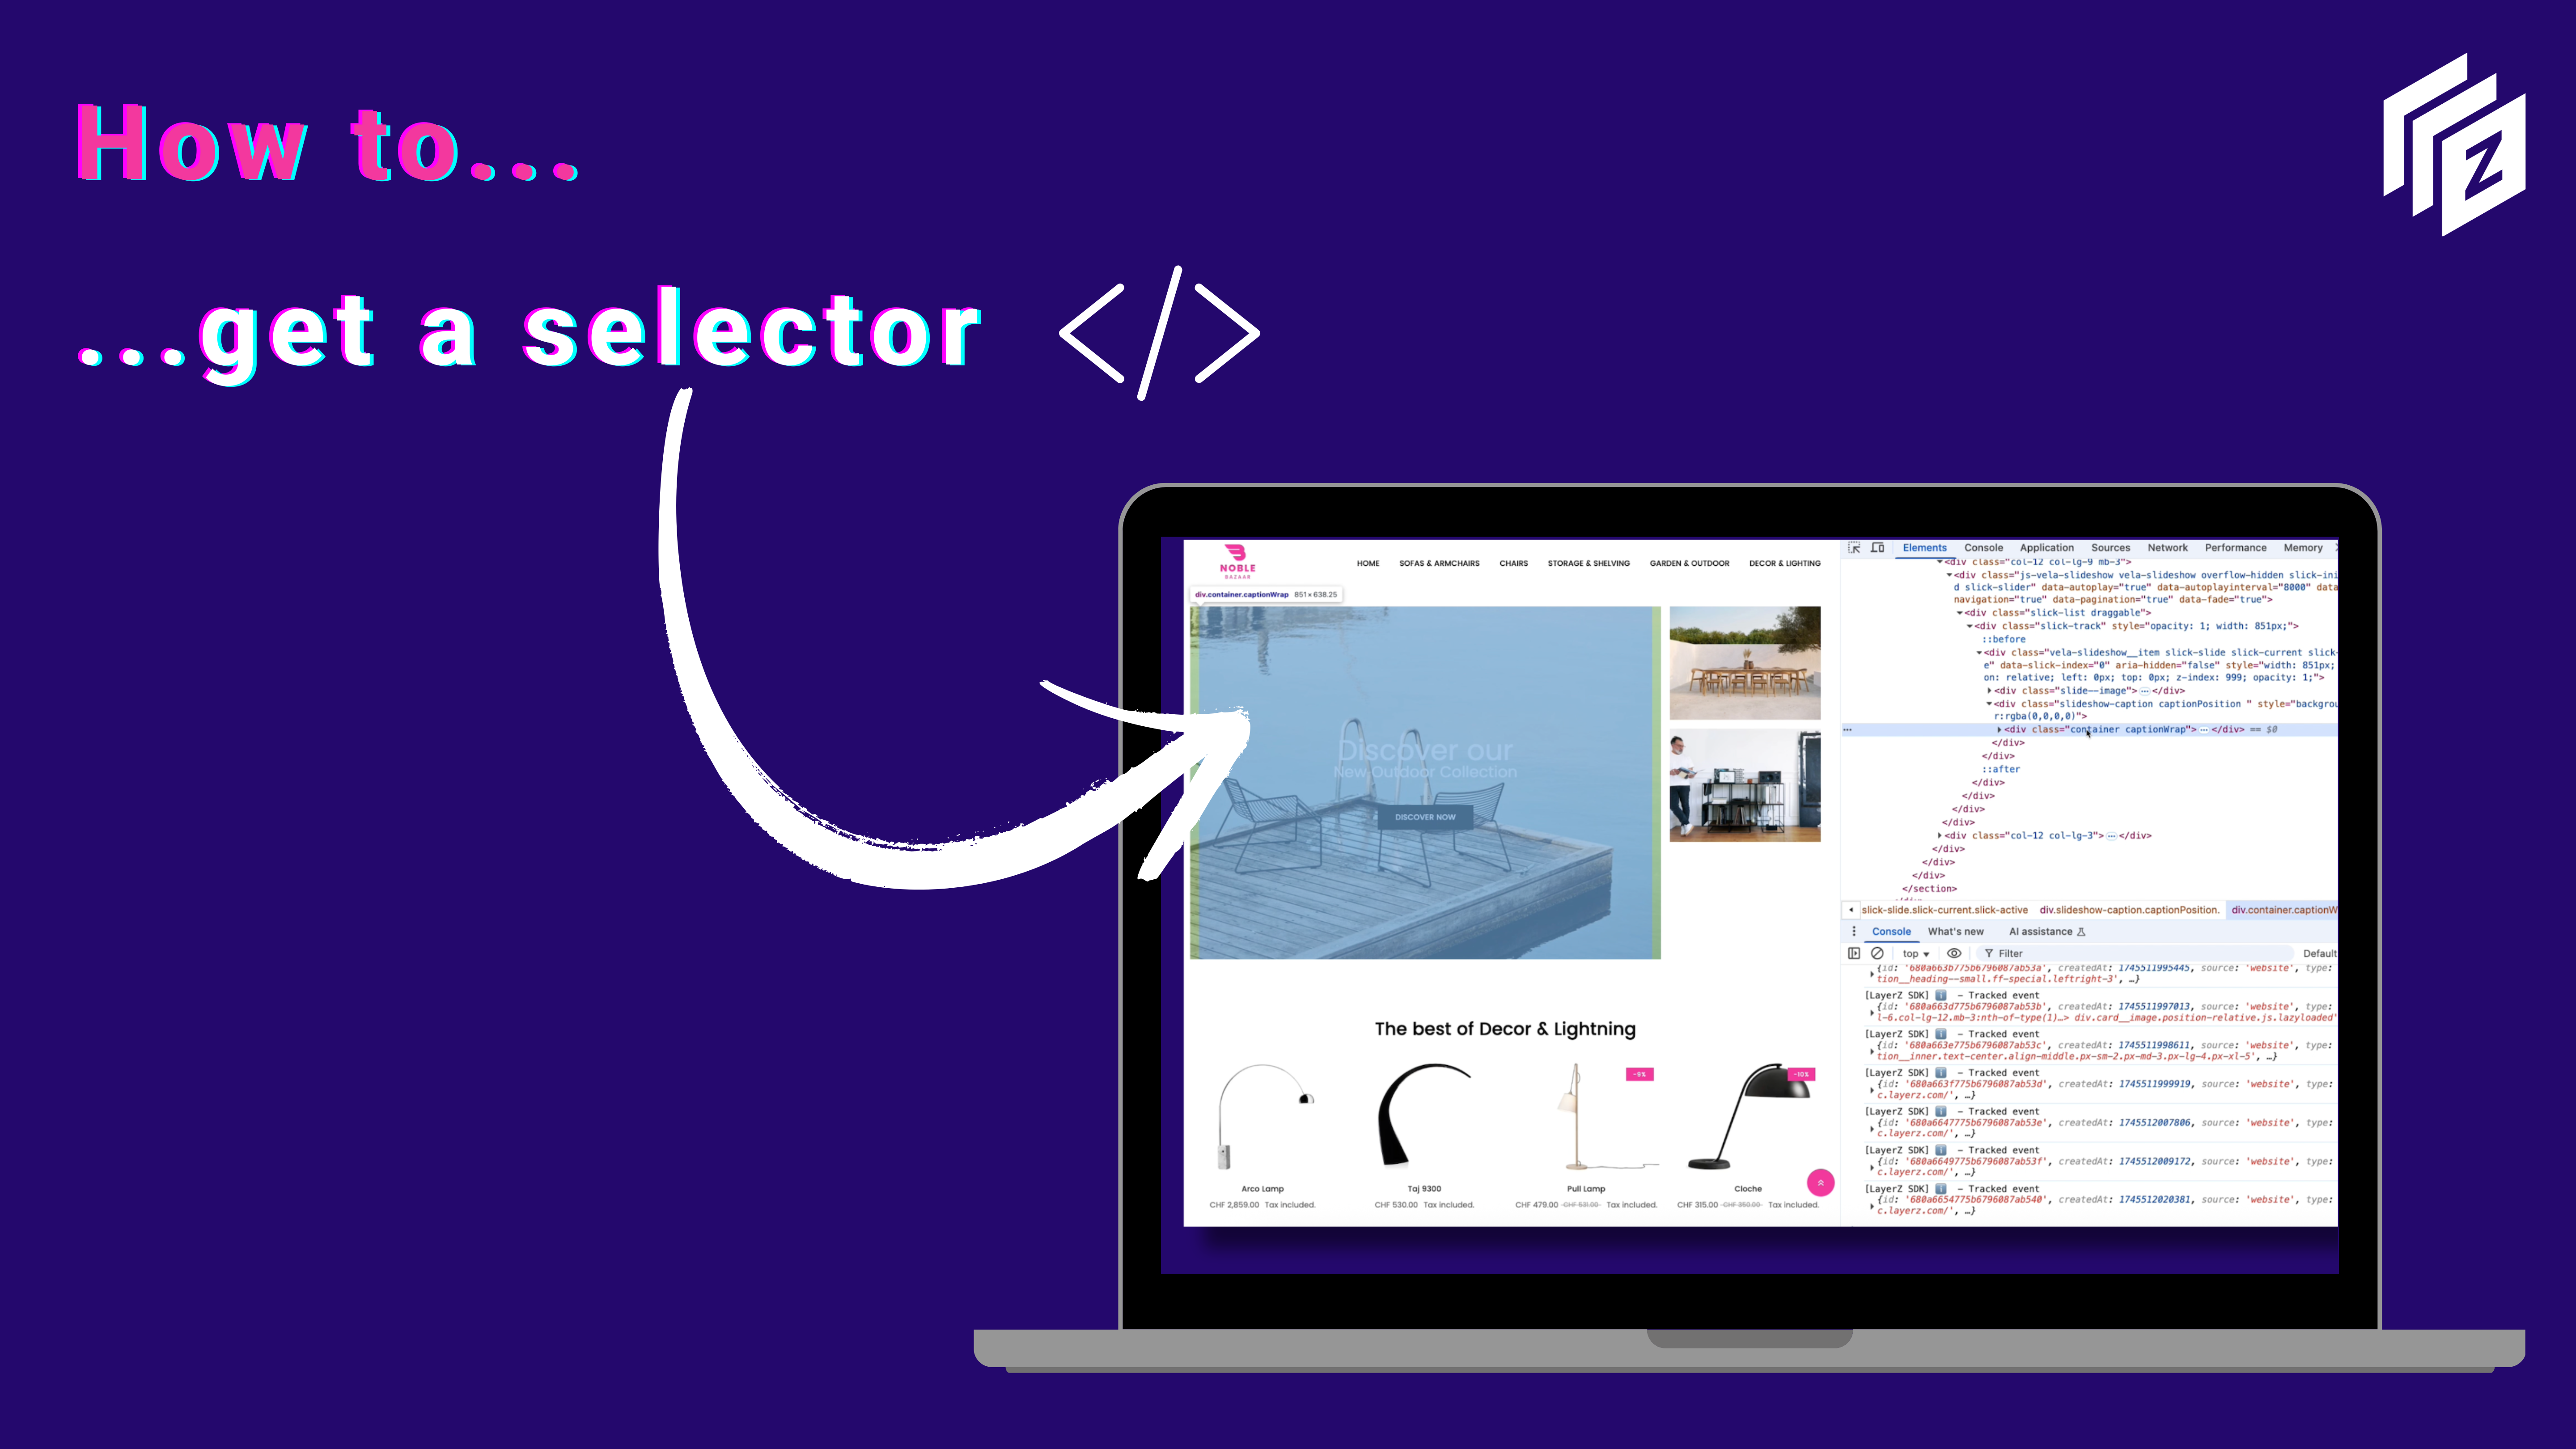
The easiest way to locate a selector is by using your browser’s Inspect tool (right-click → Inspect).
Once the code panel opens, hover over the page elements — you’ll see each one highlighted on the site. Right-click the relevant line in the HTML, then select Copy → Copy selector.
You’ll get something like:
#slick-slide00 > div > .content
This line tells LayerZ exactly how to find that element inside your site’s structure.
Using Selectors Inside LayerZ
In LayerZ, selectors come into play when you define triggers — the events that activate your layers.
For instance:
- Event: Mouse over
- On:
#slick-slide00 > div > .content
- Action: Show Layer → Chat Layer
This simple setup allows LayerZ to detect when a visitor hovers over that specific part of your site and automatically display a relevant experience (like a hint, recommendation, or CTA).
Why It Matters
By mastering selectors, you can make LayerZ experiences context-aware. Instead of generic popups or overlays, you’re creating precisely targeted interactions that respond to real user behavior — whether it’s hovering over a product, scrolling through a collection, or pausing on a key image.
This is where the magic of LayerZ begins: turning your static pages into adaptive, intelligent journeys.